heiter magazine

inspiring you to live & style your life so that it feels good

  • SHOP
    • ALL
    • MAGAZINE
    • COMMUNITY
    • RESOURCES
    • EVENTS
  • BLOG
    • LATEST POSTS
    • DAILY JOY
    • FASHION
    • LIVING
    • RECIPES
    • TRAVEL
    • INTERVIEWS
    • PARENTING
    • BUSINESS
    • DIY
  • THE HEITER SOCIETY
  • EVENTS
  • ABOUT
soap making at home.JPG

The Heiter Soap: how to make your own

September 14, 2021 by Katharina Geissler-Evans in Heiter DIY

My mother-in-law is an expert when it comes to soap making. When we visited her (and my father-in-law) a few weeks ago, she showed me how to make my own soap too. I absolutely loved the process — so much that I created a “heiter soap” recipe. Interested in making yourself some heiter soap too? Then follow the instructions below.

Please note that you need biocarbonate of soda for this recipe. Biocarbonate of soda is a chemical and gets very hot once mixed with water. Make sure you wear protective gear (gloves, googles) and use non-cooking pots/cutlery throughout the recipe. I would also suggest making the soap without your children close by.

The Heiter Soap

Ingredients (for about 6 bars):

375g olive oil

100g coconut oil

25g almond oil

65g biocarbonate of soda

60g almond mild

105g water (ideally, rain water)

essential oils:

about 30 drops of rosmary oil

about 30 drops of bergamot oil

about 24 drops of lemon

Equipment:

silicone soap molds

stainless steel thermometer

stick blender

  • Disolve the biocarbonate of soda in the water (use a container you don’t use for cooking!). Careful, mixing the two results in a chemical reaction, it gets very hot! Make sure you wear gloves and goggles. Leave on the side (ideally outdoors) so that it can cool down.

  • Melt the coconut oil, add the olive and almond oil. Heat the mixture slowly.

  • Once the biocarbonate of soda and the oil mixture have about the same temperature (somewhere between 42 and 48 C degrees), mix them slowly. Again, please be careful and make sure you use special pot/saucepans, gloves and googles.

  • Mix until the soap mixture gets a “custard like” consistency.

  • Add the almond milk and essential oils.

  • Carefully fill the soap mix into moulds.

  • Cover the moulds with a plastic sleeve and a blanket/old towel and leave in a dry room for at least 24 hours. If the soap mixture is still very soft after that, leave for another 24 hours.

  • Once you can easily get the soaps out of the moulds, do so and shape the soap to your liking.

  • Leave your soaps to cure (in a dry place) for four weeks before you use them.

Images: Katharina Geissler-Evans, heiter magazine

Recipe inspired by Joanne, my lovely mother-in-law

September 14, 2021 /Katharina Geissler-Evans
soap making, diy, essential oils
Heiter DIY
Comment
1.JPG

Naturally dyed easter eggs

April 26, 2019 by Katharina Geissler-Evans in Heiter DIY, Living

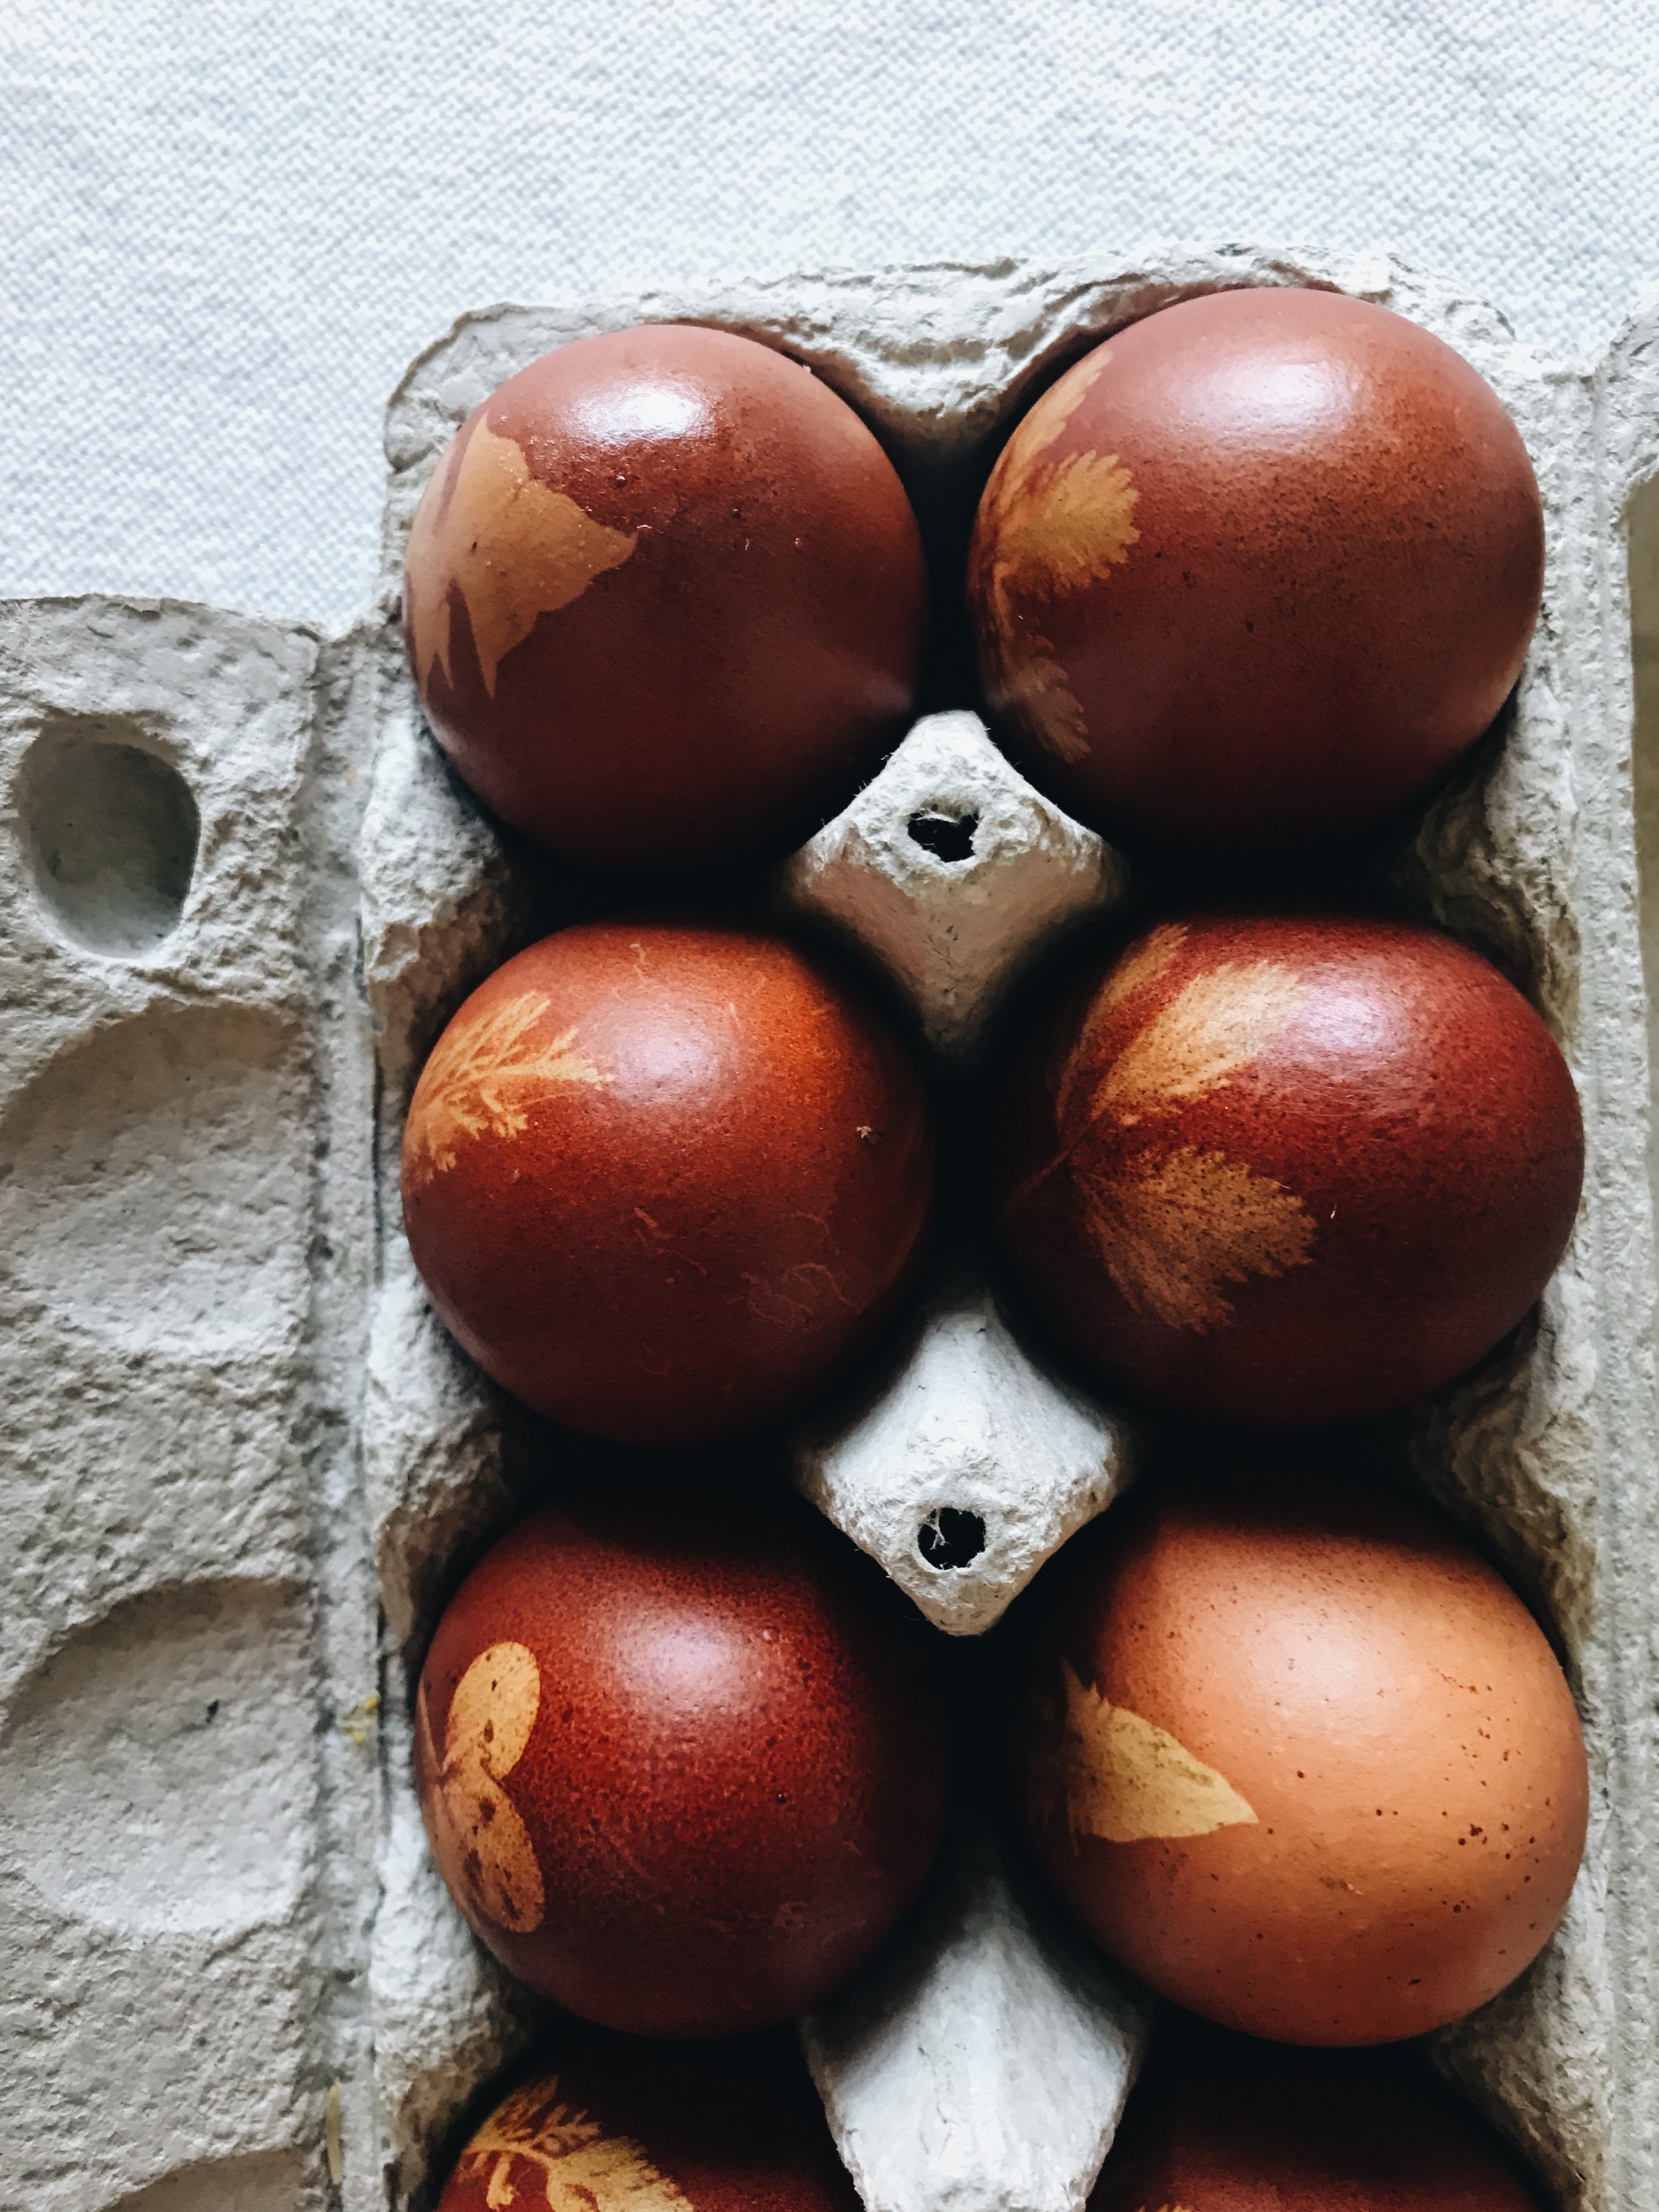
Every year my mum and I dye our Easter eggs together. We have tried several different techniques to do so but the one we love most is a completely natural one - and that is the one I’d like to share with you here.

What you need:

  • A big bowl of onion peel

  • Eggs (not boiled yet)

  • Little ferns, single flowers, leaves or whatever else you’d like to use

  • Old stockings

  • String, scissors

  • A big saucepan (with boiling water)

  • Optional: vegetable fat

what you need_naturally dyed eggs

Instructions:

1) If you haven’t already, collect little flowers, ferns, leaves or other plants that could adorn your eggs.

2.JPG

2) Cut the stockings into pieces (they should be big enough so that you can wrap them around the individual eggs)

3) Place one leaf or flower on one egg and tightly wrap a piece of stocking around it (we use string to hold the stocking together)

4.JPG
covered egg

4) Once all eggs are covered in stockings, add the onion peel to the saucepan with boiling water.

all covered eggs_natural dying
onion peel in saucepan

5) Once the water takes on colours, put the eggs in. Leave them in the boiling water for about 10 min.

8.JPG

6) Cut the stocking and remove the leaves/flowers/plants.

7) For extra shine, roll the eggs in vegetable fat (when they are still hot!).

dyed egg_onion peel

We hope you and your loved ones enjoy these heiter eggs!

naturally dyed eggs

Images & words: Katharina Geissler-Evans, heiter magazine

Die deutsche Version findest du hier.

April 26, 2019 /Katharina Geissler-Evans
diy, natural, easter, seasonal, easter eggs, egg dying
Heiter DIY, Living
1 Comment
 

FEATURES & PRESS MEDIA KIT WORK WITH US STOCKISTS

© 2025 heiter magazine. All rights reserved.

Impressum | Imprint Delivery & Returns Privacy Policy